The settings menu can be opened by swiping gently the navigation view from the bottom to the center with your finger.
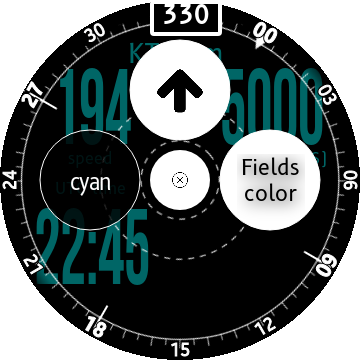
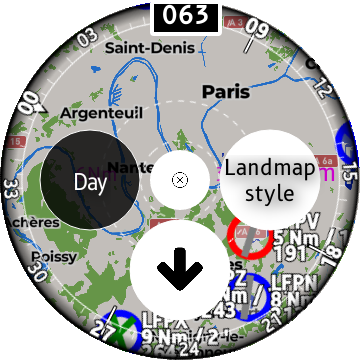
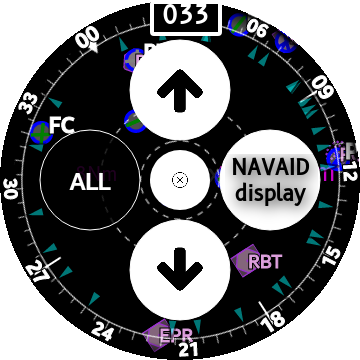
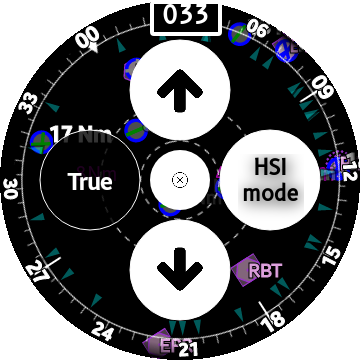
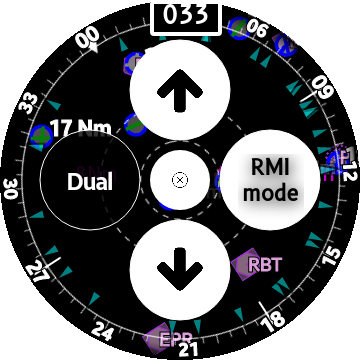
The menu is composed of up to 5 circles.
The top and bottom circles are used to select a topic in the menu:
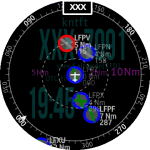
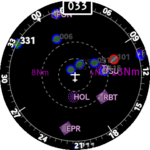
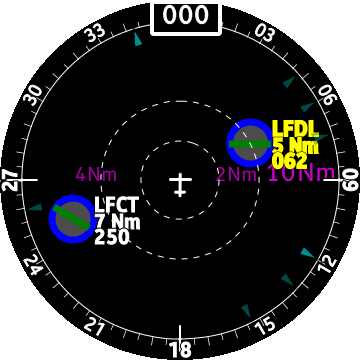
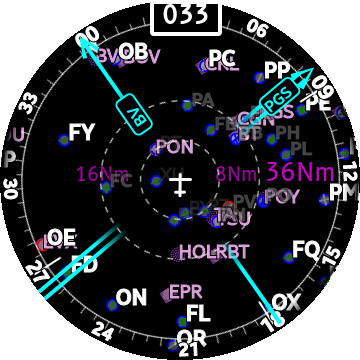
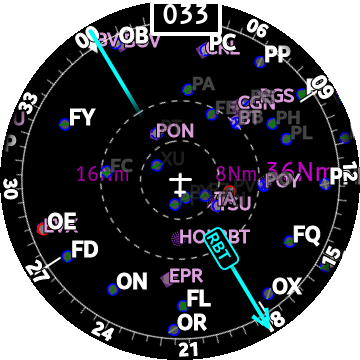
- NAVAID names display
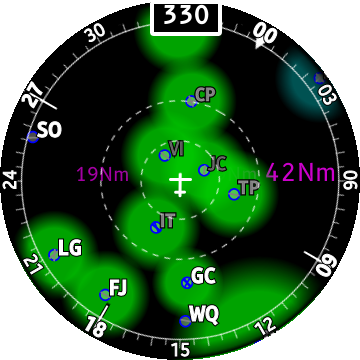
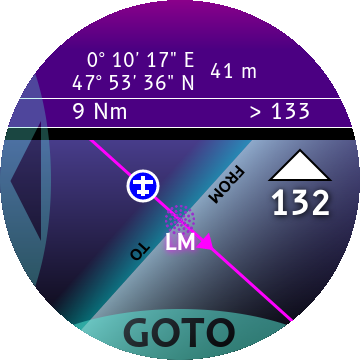
- RMI mode
- HSI mode
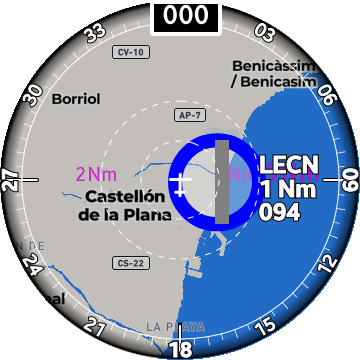
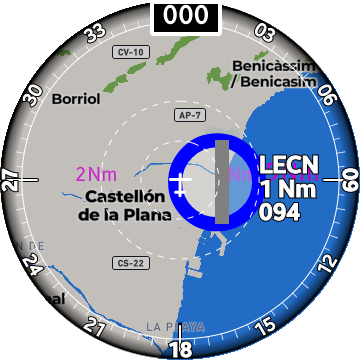
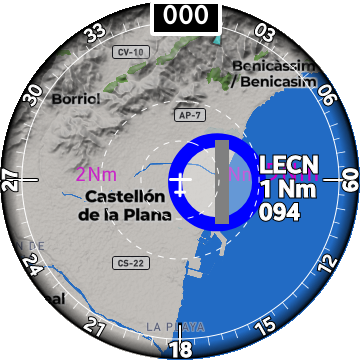
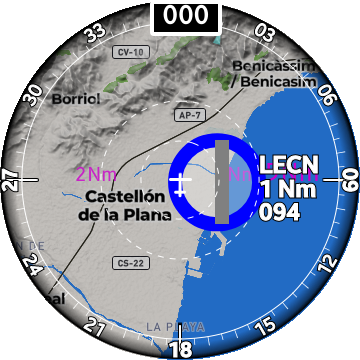
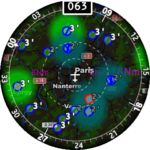
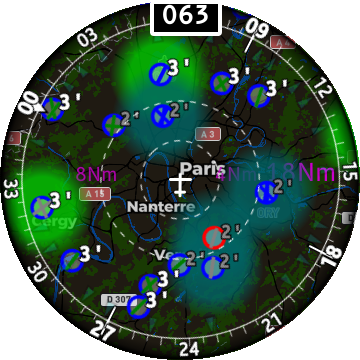
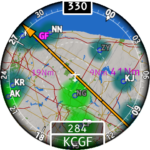
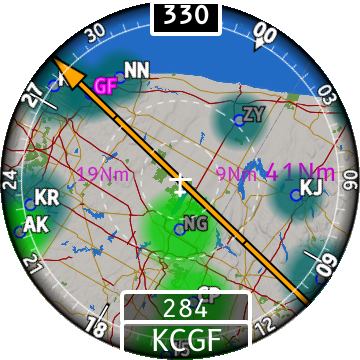
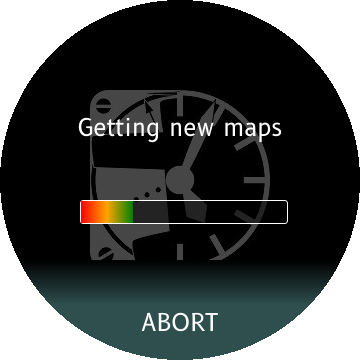
- Land map theme
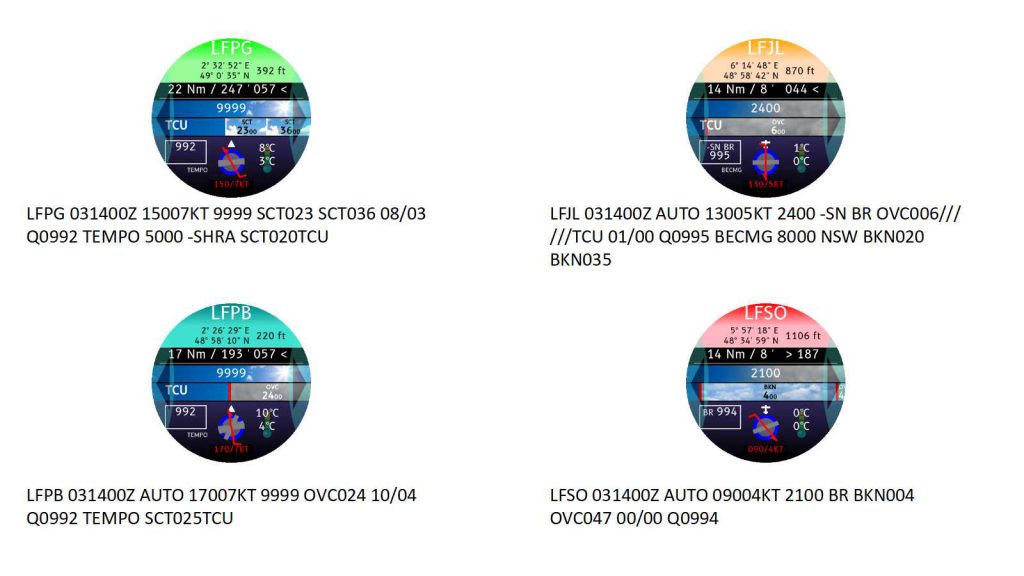
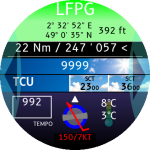
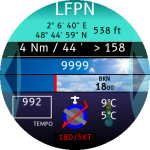
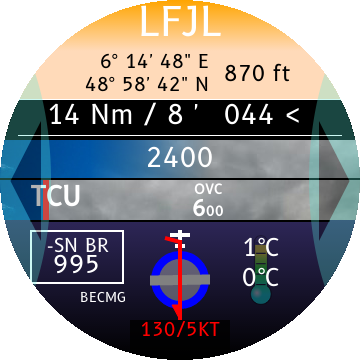
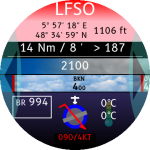
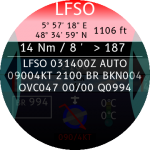
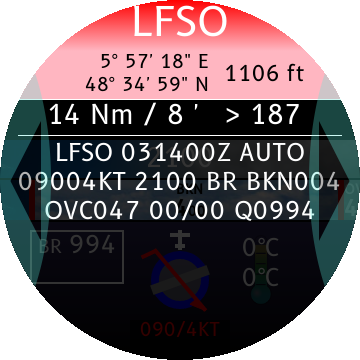
- METAR map display
- North reference
- Visibility of many land map elements such as : major roads, railways, terrain elevation
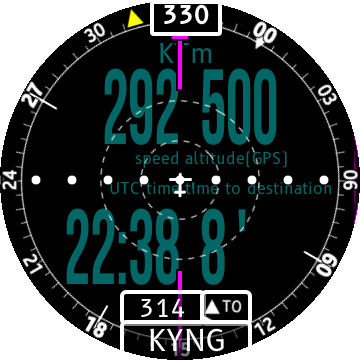
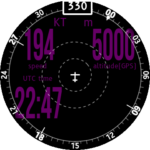
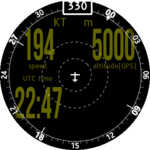
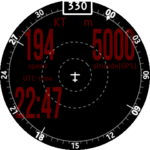
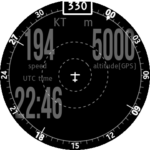
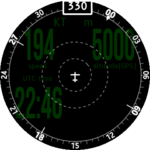
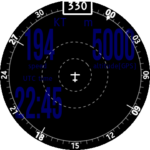
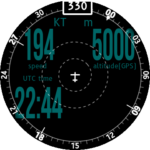
- Color of the flight parameters
Just tap one of these circles to select a topic.
The name of the topic is displayed on the right circle.
The current setting value for the selected topic is displayed on the left circle (the black one). Tap this circle to change the value.
Tap the center circle to exit the menu.